ZEISS CenterMax
Unparalleled Stability
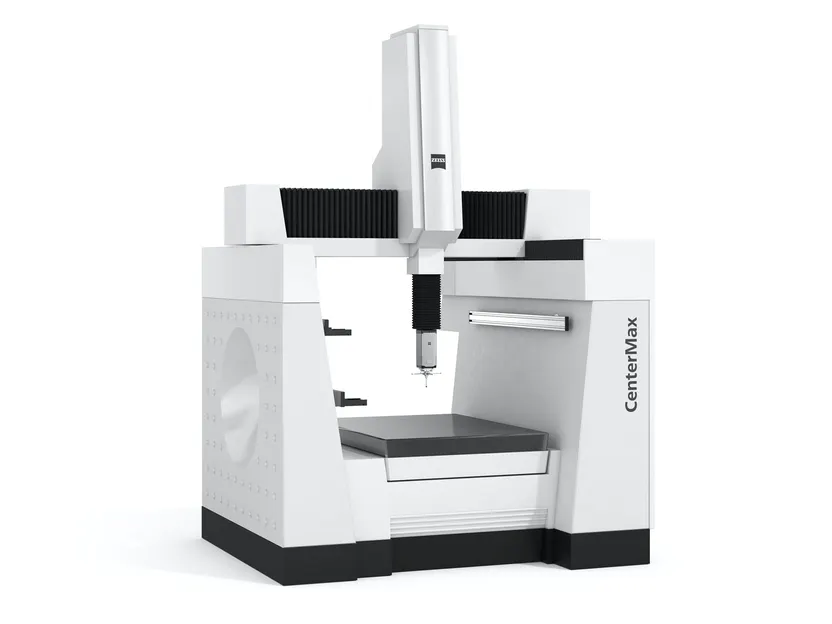
ZEISS CenterMax

A measuring machine for production
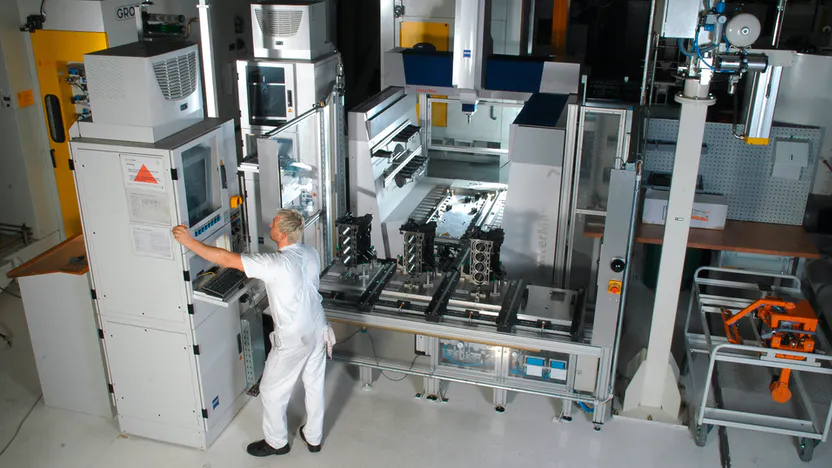
ZEISS CenterMax can be directly integrated into a production line. Vibrations from processing centers are effectively damped. Its variable workpiece base makes it ideal for automated loading.
ZEISS CenterMax
Features
Coordinate measuring technology for production
- Machine design optimized for integration
- Temperature stability from +15ºC to +40ºC
- Pneumatic vibration insulation
- Robust machine design
Navigator technology package
- Automatic generation of the ideal measuring strategy
- Tangential approach
- Helix scanning
- Dynamic stylus calibration
VAST Performance Kit
- FlyScan
- QuickChange

Temperature Variable Accuracy (TVA)
The accuracy of measuring machines is usually only given for the ideal temperature. Not with ZEISS CenterMax: thanks to the TVA formula, the accuracy of this system can be exactly determined for different temperatures.
Options
- Touchscreen – unaffected by oil and dirt
- Pneumatic stylus rack
- Safety equipment
- Rotary table

Technical Data for ZEISS CenterMax
| ZEISS VAST gold / ZEISS VAST XTR gold |
|
| length measurement error E0 in μm | |
| At 20°C | 1.2 + L/280 |
| At 26°C | 1.5 + L/250 |
| At 30°C | 1.7 + L/230 |
| At 40°C | 2.2 + L/180 |
Available software:

ZEISS CALYPSO
The easy way to get from the drawing to the measurement.
ZEISS GEAR PRO
Gear metrology

ZEISS PiWeb
Compatible sensor:

ZEISS ROTOS
Inspect roughness and waviness on a coordinate measuring machine

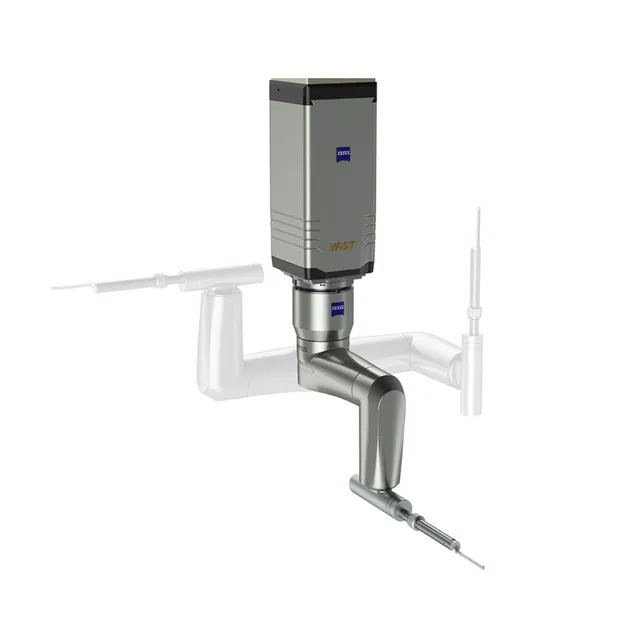
ZEISS VAST XTR gold
Tactile sensor with the integrated swivel joint for measurements with angular position

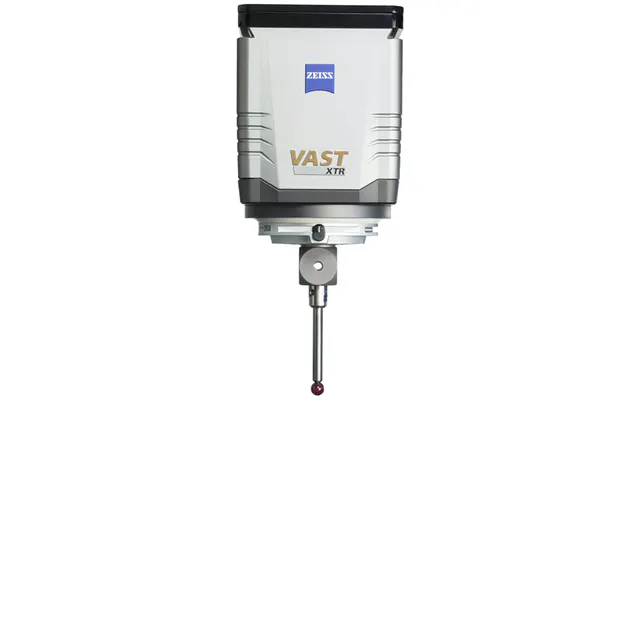
ZEISS VAST gold
The ideal sensor for contact scanning and single-point measurements.