ZEISS Accura
Tailored to your Needs
ZEISS ACCURA
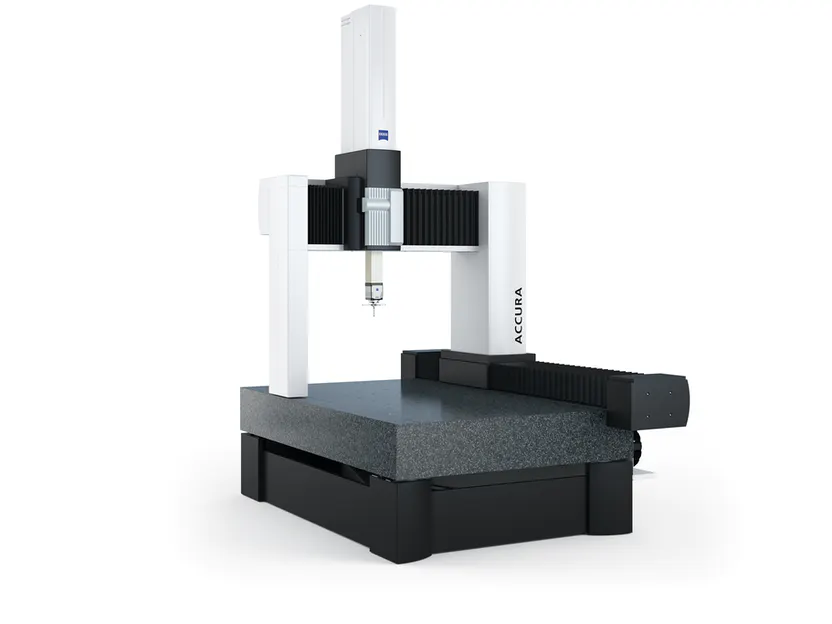
The future-proof bridge-type measuring machine
Are performance and precision your top priorities? With its wide range of configurations, the ZEISS ACCURA measuring machine can be tailored to your needs – and budget.
ZEISS ACCURA
Features
The modular design makes the system future proof: ZEISS ACCURA can be modified to meet changing requirements on the configuration, sensors, and software.
Made for high temperatures
ZEISS ACCURA bridge is covered with Foam Insulating Technology, a new type of high-performance insulation. The housing covers ensure maximum insulation and minimal thickness. This enables the operator to select a measuring lab temperature between 20ºC and 26ºC.
Low weight, high dynamics
ZEISS ACCURA bridge is covered with Foam Insulating Technology, a new type of high-performance insulation. The housing covers ensure maximum insulation and minimal thickness. This enables the operator to select a measuring lab temperature between 20ºC and 26ºC.
Futureproof
Thanks to its modular design, ZEISS ACCURA is ready to meet the demands of the future. It grows with your requirements on equipment, sensors and software.
Pre-wiring for contact and optical sensors, as well as scanning, makes ZEISS ACCURA immediately multisensor capable.
Maintenance-friendly design
All housing panels of the bridge can be removed and remounted in only a few steps. This reduces the time needed for maintenance and increases machine availability.
Quality assurance with ZEISS ACCURA
Doppelmayr/Garaventa Group
With this particularly precise measuring machine, we also want to impress upon our entire team that we have to deliver 100 percent quality in everything we do.
- Roland Schedler, Quality Assurance at Doppelmayr
The bridge-type measuring machine at a glance
Temperature independence
- High-performance isolation on the bridge for maximum effect
- CARAT guiding technology for high dynamics and performance
Future-proof and high-quality
- High degree of flexibility when choosing the sensor
- Glass ceramic scales for high accuracy and temperature stability
- Air bearings for high accelerations and performance
Ergonomically-correct work
- Ergonomically-correct work
- Touchscreen operation
- Stylus changer rack
- Wireless control panel
Additional components
- Rotary tables for optimizing the measuring range
- Pneumatic vibration insulation to prevent the need for an expensive foundation
- ZEISS AirSaver to reduce operating costs
Technical data for ZEISS ACCURA
Measuring accuracy with ZEISS probe system
|
|
ZEISS VAST gold / ZEISS VAST XT gold / ZEISS VAST XTR gold |
|
Measuring range X/Y/Z |
length measurement error E0 in μm |
|
9/12/8 - 9/16/8 |
1.2 + L/350 |
|
12/18/8 - 12/24/10 |
1.8 + L/350 |
|
12/30/10 - 12/42/10 |
1.9 + L/300 |
|
16/24/10 - 16/42/10 |
2.4 + L/300 |
|
16/24/15 - 16/42/15 |
3.2 + L/300 |
|
20/24/15 - 20/42/15 |
3.6 + L/300 |
|
ZEISS VAST XXT |
|
|
Measuring range X/Y/Z |
length measurement error E0 in μm |
|
9/12/8 - 9/16/8 |
1.6 + L/350 |
|
12/18/8 - 12/42/10 |
2.2 + L/300 |
|
16/24/10 - 16/42/10 |
3.4 + L/250 |
|
16/24/15 - 16/42/15 |
4.2 + L/250 |
|
20/24/15 - 20/42/15 |
4.9 + L/200 |
Available software:
ZEISS CALYPSO
The easy way to get from the drawing to the measurement
ZEISS GEAR PRO
Gear metrology

ZEISS REVERSE ENGINEERING
Reverse engineering, tool correction and volume calculation
Compatible sensor:
Available accessories:
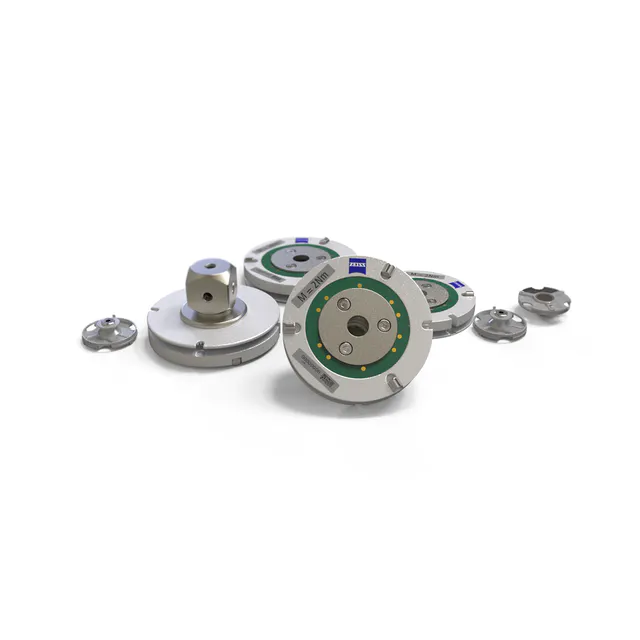
Adapter plates
Connecting your stylus system with your CMM
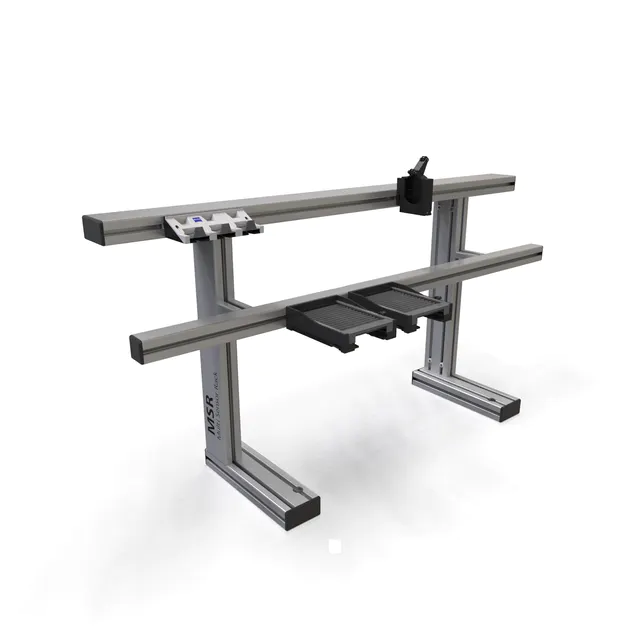
Sensor racks
Changing styli easily and safely

ZEISS Clamping Devices
Safe and efficient clamping of your workpiece
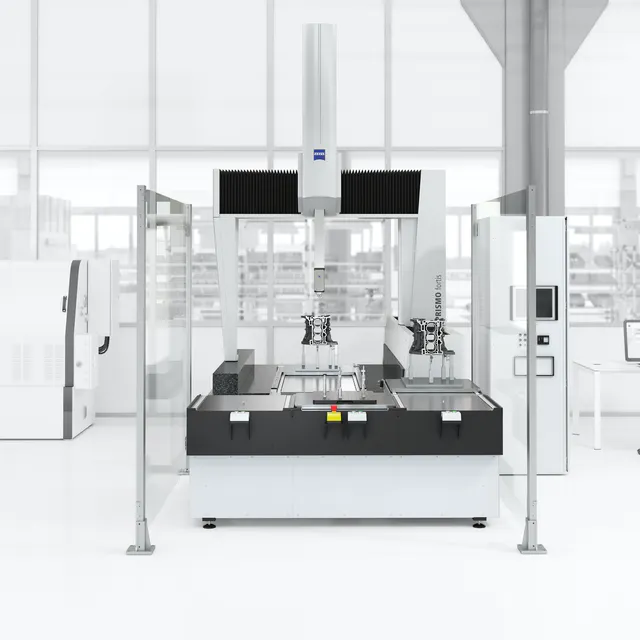
ZEISS Loading Systems
A modular system with endless possibilities